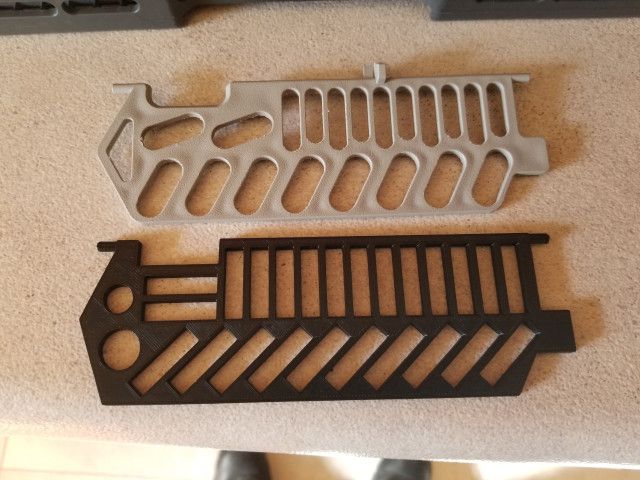
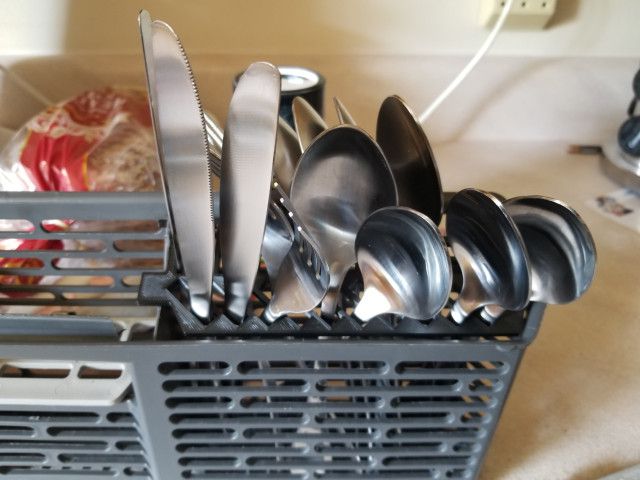
Now this could be a problem. We have new silverware (stainless steel, actually, but you know what I mean). First time in the dishwasher we discover the handles of the large spoons and forks will only fit in a few of the slots in the silverware tray. This not only could be a problem, it IS a problem. One that must be resolved.

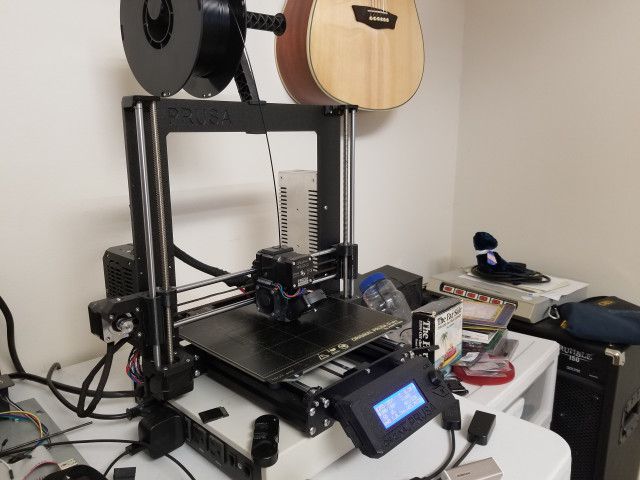
Sketchup & Prusa to the rescue!
It's funny, but there are a LOT of people out there who think Sketchup is not a good 3D drawing app to use for 3D printing. I think the truth of the matter is there are a lot of people who don't know how to use Sketchup, and they think it's not good for use with 3D printing projects.
Sketchup 2018 is the only software I use, and I've made a crap-ton of items, both large and small, simple and complex with Sketchup. And yes, my models are manifold, that is, they represent a solid shell and do not require "fixing" before slicing.
It's all in the way you approach the project.

Here are a few tricks of the trade to getting 3D printable items out of Sketchup 2018.
- Build flat, extrude later.
- Do as much of your design in 2D as you can, then Pull.
- Create Components frequently.
- If you make more components than you think you need to, you're probably doing it about right.
- Make components out of anything you can move, rotate or copy later.
- When you think you have enough, make more components out of more things.
- Select a surface or line. Right-click. Choose 'Select all connected", then "Make Component".
- Use the Tape to create guide lines.
- The letter T brings up the Tape measure. This will measure, but that is NOT it's most useful function.
- Select a line that runs parallel to where you'd like a guide-line to be. Click.
- Move in the direction you want to go. Make sure you keep sight of the axis line in your chosen direction.. If it disappears, move around (without releasing the mouse button) until you get it back.
- If you know exactly how far you want the guide-line, just type that number and press "Enter". A guide-line will run to infinity and beyond which provides you a snapping point for objects or a guide to draw a straight line exactly where you want it.
- This is HUGE! It's a Sketchup must-do.
- This guide-line will be on the same plane as the original line you selected to start.
- Use "Cut" and "Paste in Place" to add components to other components to slowly build your final model.
- Because components do not interact with each other in unpleasant ways, you can get parts lined up properly by moving one component outside the other. (Letter 'M' to move, 'M" followed by a tap on 'CTRL' to copy.)
- "Inside" means you double-clicked on a component and are now actively editing it. "Outside" means you cannot edit the component because you have not yet double-clicked on it to "enter" it.
- Once you have your components lined up exactly where you want them, decide which is the Movee, and which is the Destination.
- Select (click on) the Movee, then click on the Edit menu and click on "Cut".
- Now double-click on the Destination component in order to 'enter' it and edit.
- Click on the Edit menu again, and click on "Paste in Place". The Movee will pop into the exact same place it was when you had it lined up, only this time it'll be inside the Destination component.
- Select the Movee, right click and choose "Explode". Now the Movee will be joined to the Destination component, becoming one with it.
- Right-click somewhere on this new component and choose "Select all Connected".
- Then right-click on it again and select "Intersect Faces" "With Selection". The other options may be appropriate, you should experiment.
- Because components do not interact with each other in unpleasant ways, you can get parts lined up properly by moving one component outside the other. (Letter 'M' to move, 'M" followed by a tap on 'CTRL' to copy.)
- Use the Solid Inspector extension by Thomas Thomassen or something similar to help you verify that your model is manifold.
- There are always things like reversed faces, abandoned lines and such that Solid Inspector will clean up for you. There are some things that it can't fix, and you'll learn what those are and how to avoid creating them in the first place.
- When Solid Inspector gives your model a thumbs up, Prusa Slicer (or similar) will welcome it with open arms.
- Export 3D Model, and save your .stl file for importing into your slicer.
You know, of course, that there are far more intricacies to using Sketchup or any 3D modeling software, but these are the basic tips that helped me turn the corner from frustration to satisfaction and progress.
Sketchup & Prusa are another set of Things that Work.
(While this post still makes valid points, I've since abandoned Sketchup in favor of OpenSCAD.)
