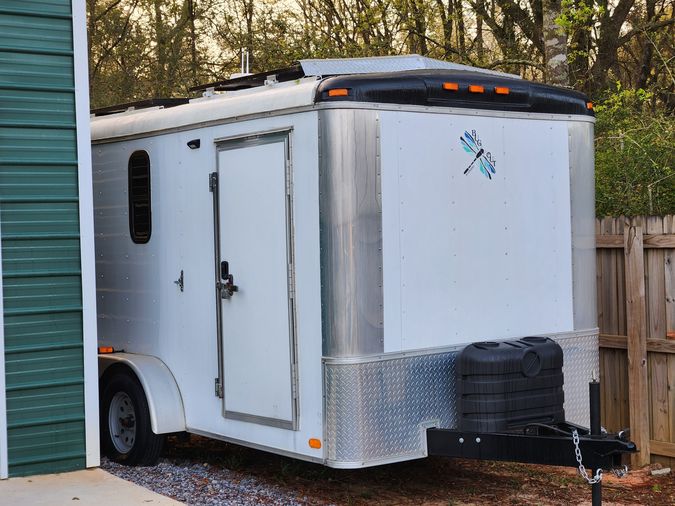
Run Home to Mama: The Bug Pages
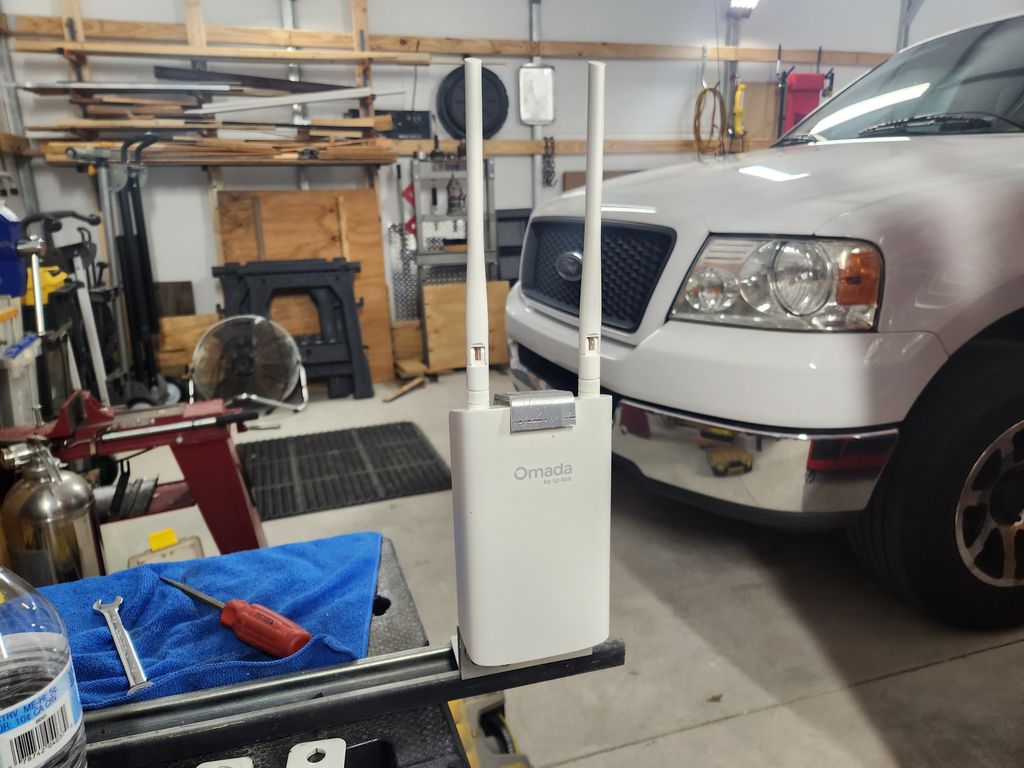
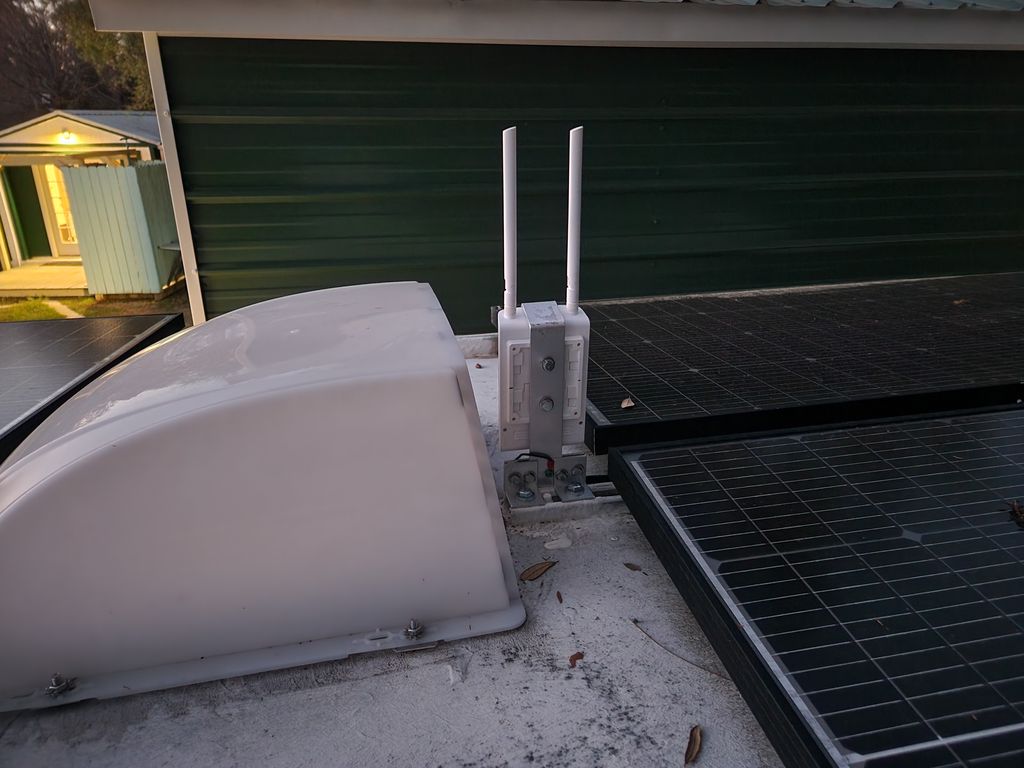
 The Bug's BugPi gets an assist from an outdoor AP. You can see the two antennas sticking up on the top.
The GL.iNet Portable Travel Router was almost enough.
Remember BugPi? My intention was for it to be a connected part of my PiNet while I was home, and then to give me some reasonable amount of remote control when out and about.
It works through the use of a GL.iNet GL-AXT1800 travel router. I can turn on and off the exterior lights, and soon (when I program the interface) no matter where I am, I'll be able to monitor all the temperature and power stats, as well as control any of my relay-operated things from anywhere in the campsite. Like the air conditioner and the vent fan.
The Problem(s)
The primary presenting problem was felt here at home. I experienced inconsistent connectivity between that little router inside the Bug and Brilliant inside Bldg S1, aka: my office. The cause of this issue was just plain old physics. The router's radio is having to push signal through two layers of plywood, a foil-backed insulation board and the aluminum outer skin of the trailer just to get outside. Then it had to go through a layer of hardi-board and the chipboard sheathing I used on the interior of S1. And that was when the Bug was parked immediately North of Bldg S1.
When I moved the Bug to the South side of Bldg S2 it got worse. During the day when the metal rollup door was up, it was acceptable. But as soon as I dropped that door at the end of the day, BugPi disappeared.
None of this was surprising. I was asking just a bit too much from a router designed for travel. What we needed was some Tim the tool-man Taylor. We needed more power. And it would be best if the antennas were outdoors. What I needed was an outdoor-rated Access Point.
The Solution (and it's tag-along problem)
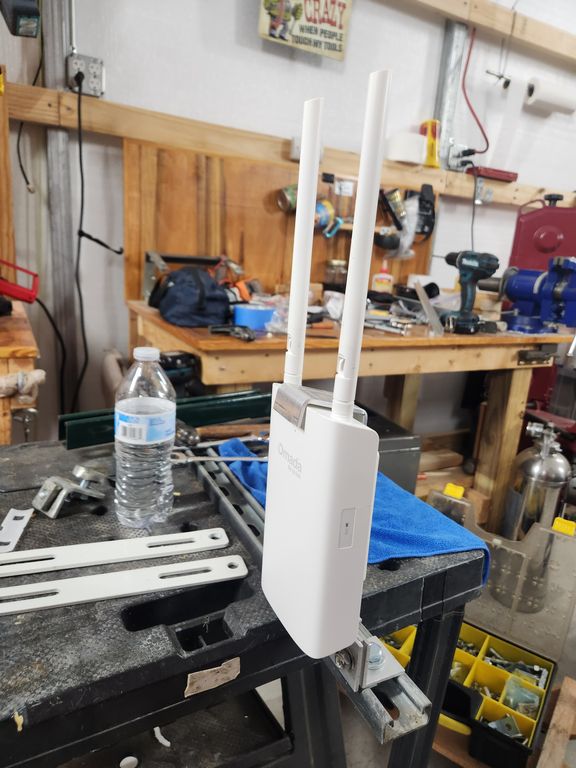
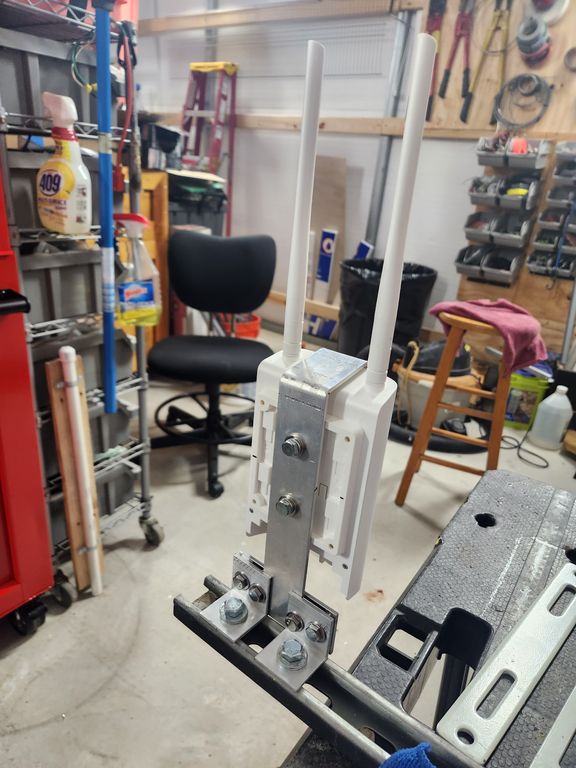
I ordered a TP-Link AP. When it got here I took it out of the box to have a look at mounting options. I was immediately struck with how simple it would be to steal this device. All you have to do is lift it straight up and it pops right off its mounting bracket. This would not do.
So I set about cobbling together a bracket that would both take advantage of the unistrut I have on top of the Bug for the solar panels, AND securely hold the transceiver making it far more difficult to remove. A side benefit is it also will travel much more securely using this mounting arrangement.
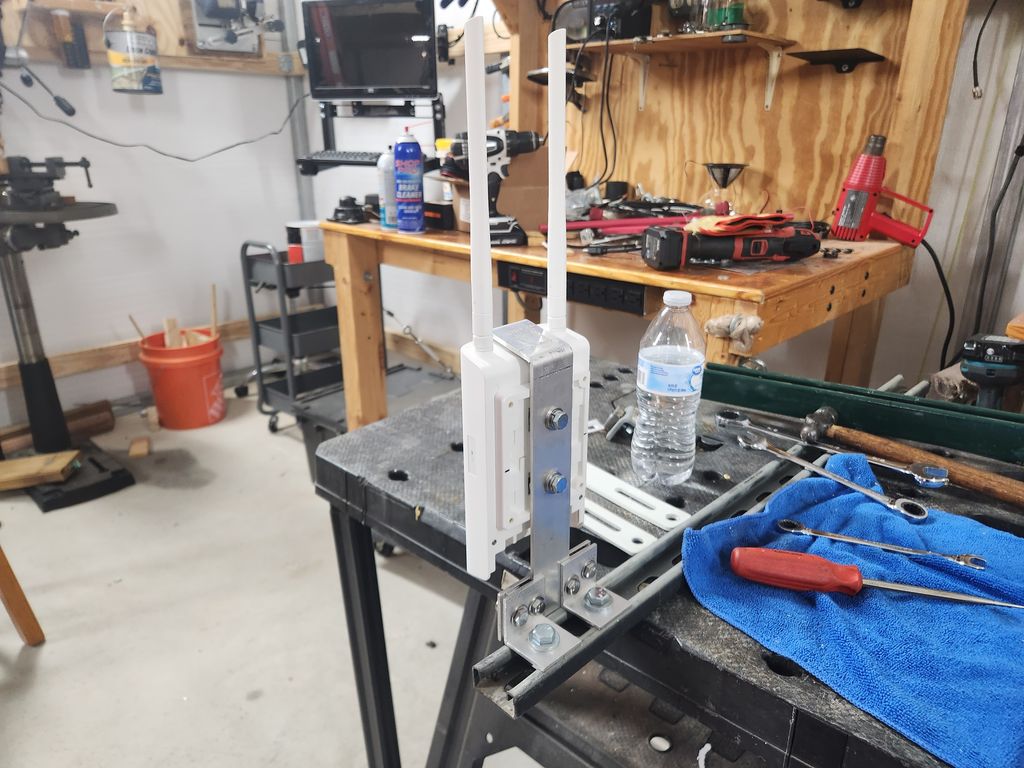
I used one-eighth inch thick, inch and a half wide aluminum flat stock. I also had some nice stainless quarter-twenty hardware, so I used that. The end result was a really nice fit that would require a sawzall or some time and some wrenches to remove. That made me happy.
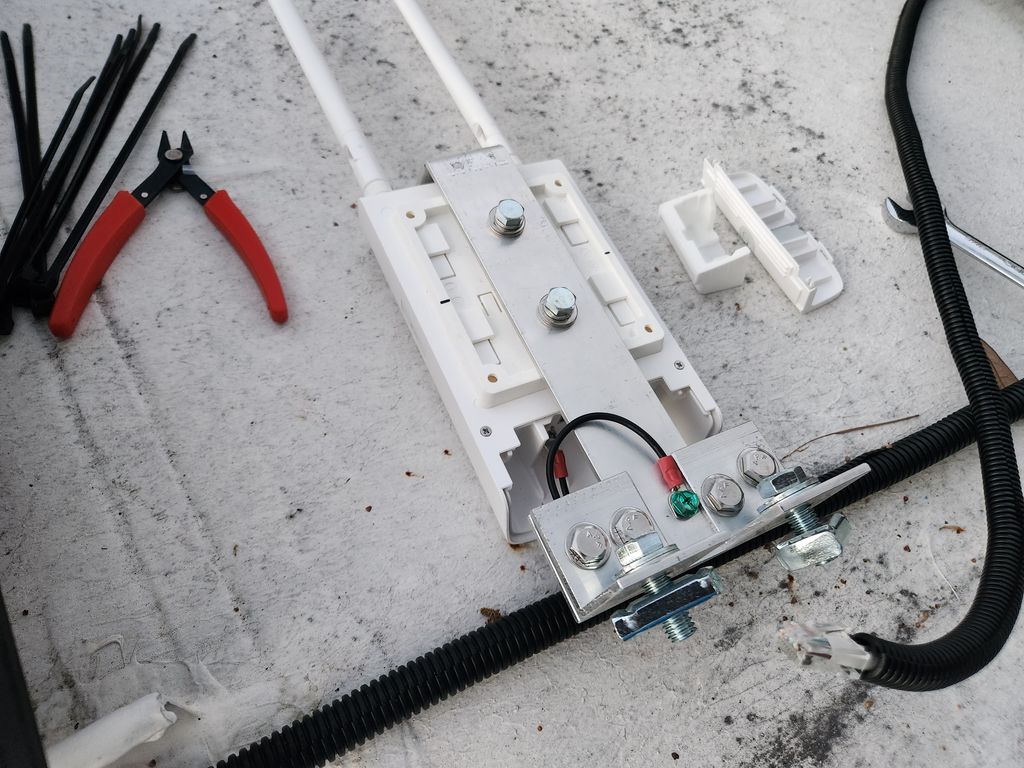
I pulled the Cat6 through the same exit port I made for the solar panel wiring. I enclosed it in some UV resistant wire loom tubing and ran it up under one of the panels to the mount location just aft of the vent hood. No new holes in the roof! I like that. I terminated both ends, tested the cable, re-terminated one end, re-tested and then hooked it up.
Success is Measured in Connectedness
I have yet to get this out on the freeway, so I have not seen how the antennas handle the wind. I have a fair amount of confidence it's going to do just fine. I do know that my intermittent connectivity problem is solved, so that's a win.
I also know I did my due diligence in providing the strongest and most secure mounting solution I could for this new appendage on The Bug.
And so we come to the end of another story about a Thing That Works. Not going to change anyone's life, but it does make mine just a little nicer.
And now, an AP Gallery