Run Home to Mama: The Bug Pages
Head, Crapper, Showers, Bathroom, whatever.
It seems a bit of a stretch to call this toilet/shower combination a 'bathroom', but 'shower/toilet combination' is just too hard to type over and over.
I could revert to Navy lingo and refer to it as 'the head', but most people would not understand. So, 'bathroom' and/or 'bath' is what it will be.
It is important to point out I hate plumbing. And most of the plumbing I've done in my lifetime was for fresh water.
The bath caused me more anxiety than anything else in this project. The prospect of building something that would result in having to live in the same space with leaking sewer water was terrifying. I watched hours of videos and read until I felt like I'd heard the same advice enough to feel some confidence about what I was about to do.
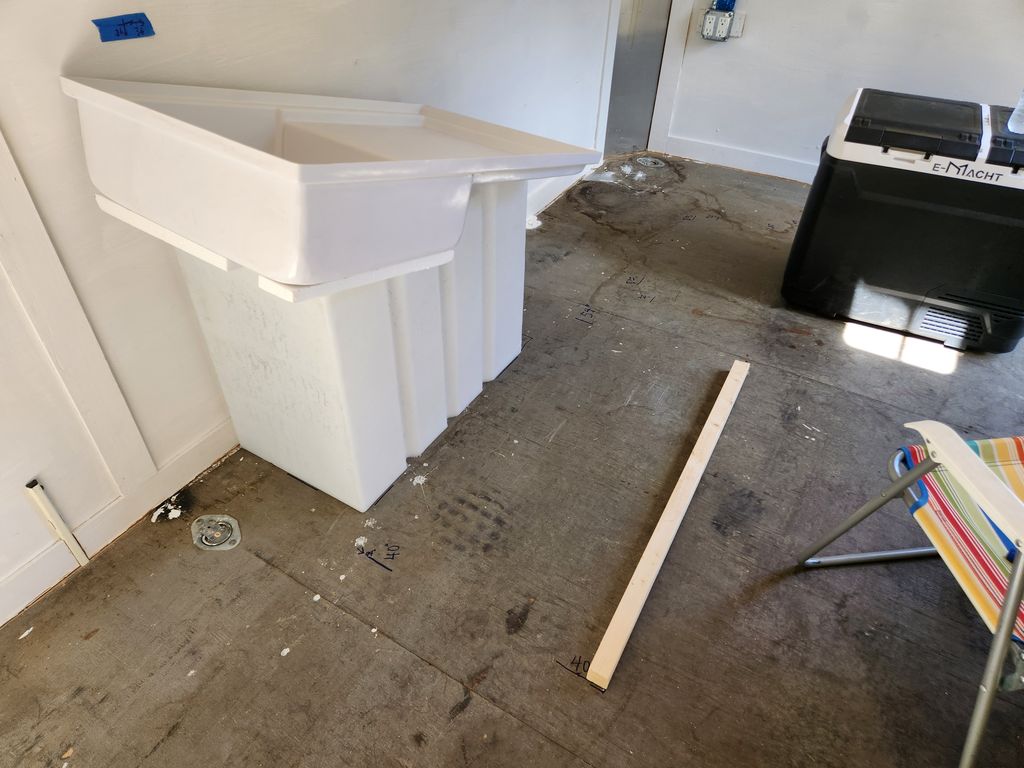
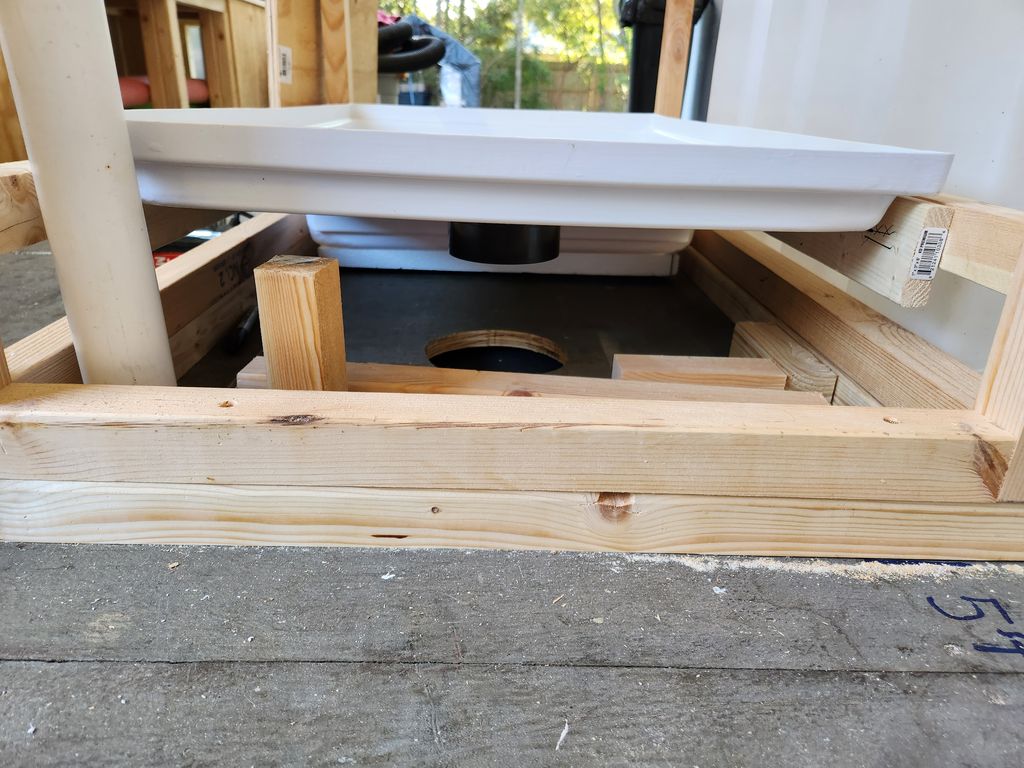
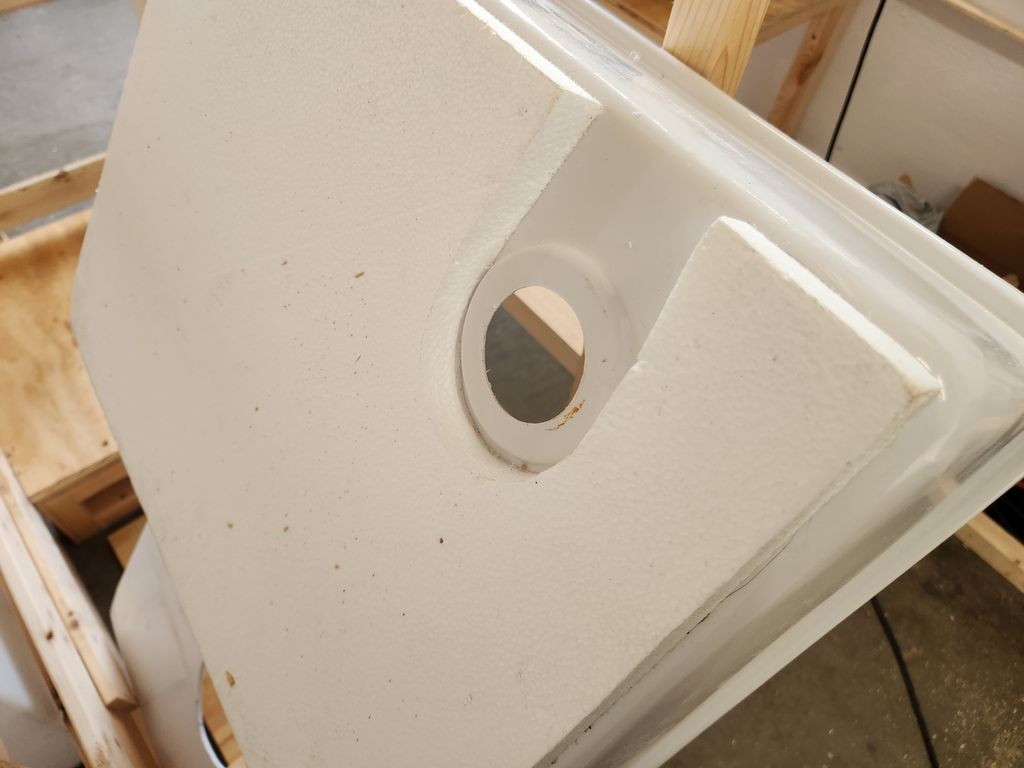
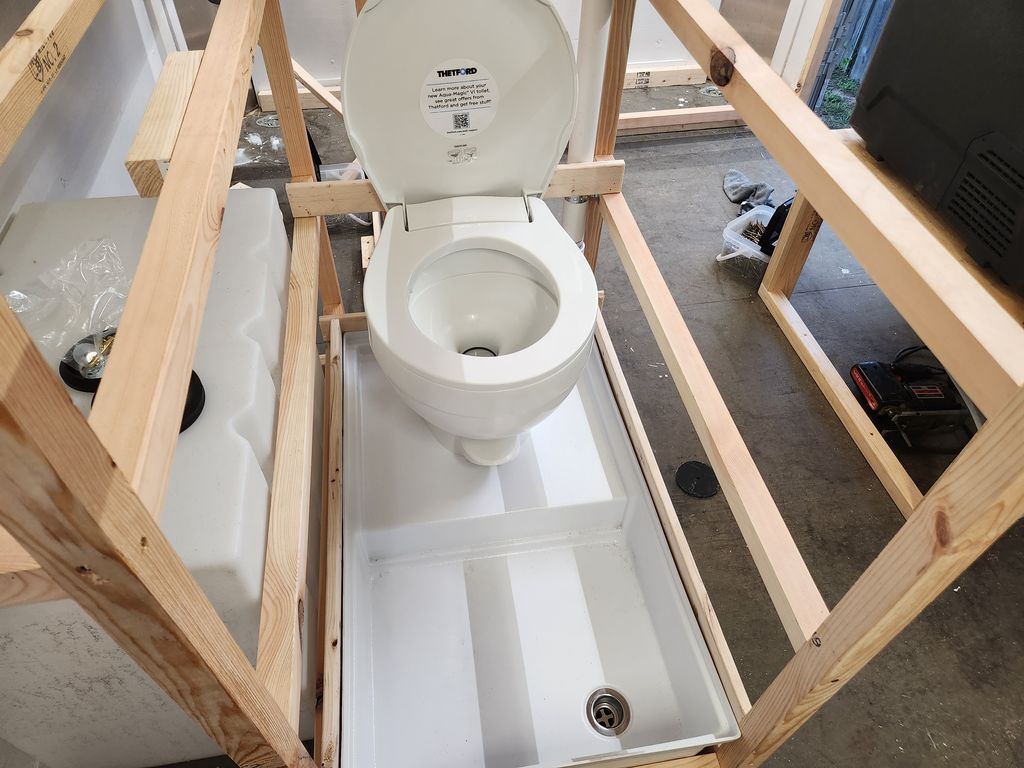
Space is a limiting factor in a 7'x14' trailer. And the space required to handle the toilet and shower functions is not insignificant. So when I found this combo pan on Amazon, I felt pretty sure it was what I wanted.
A Parts List:
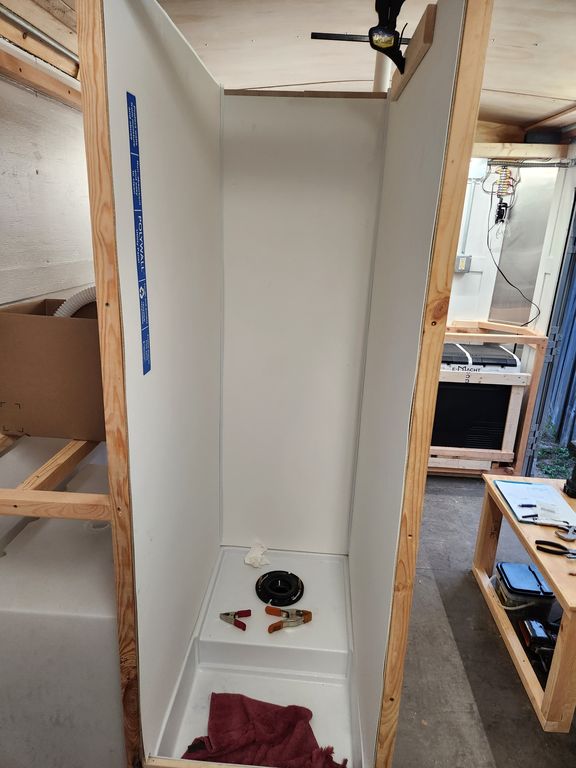
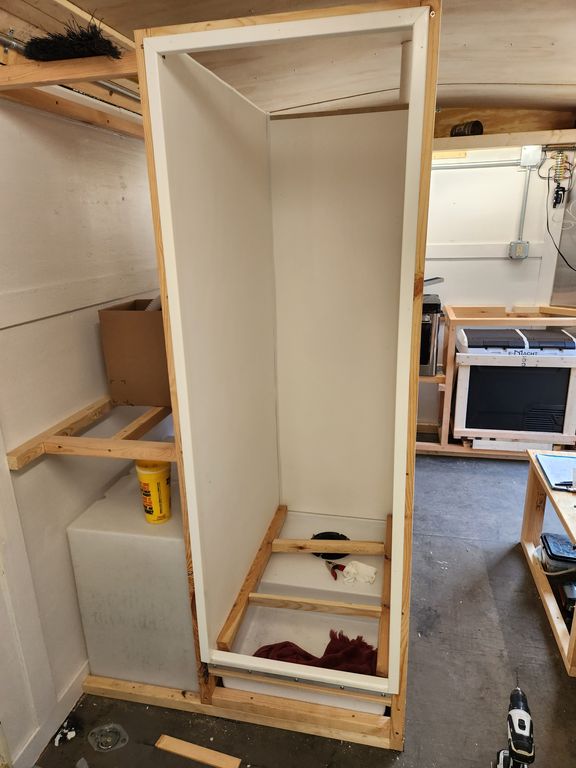
The PVC wall board.
The valve set.
The shower head.
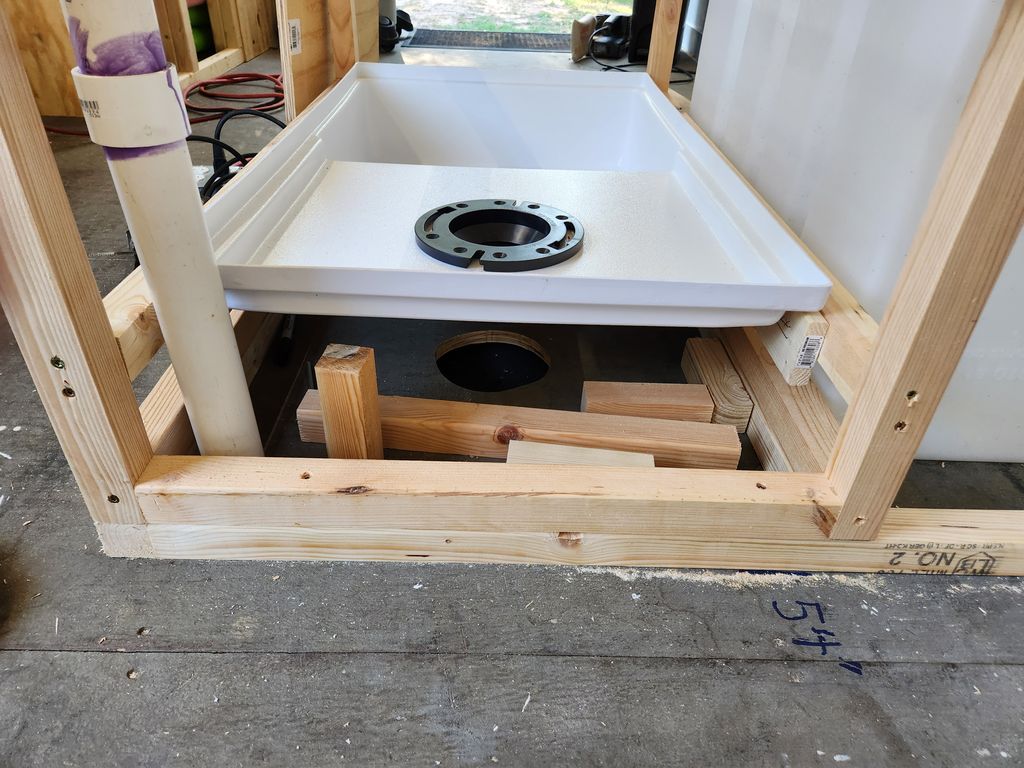
The shower drain fitting.
The toilet.
A seal kit which turned out to be mostly unnecessary. I think I only used the flange.
The vent grommet for venting the black water tank to the outside.
The vent cap for the roof.
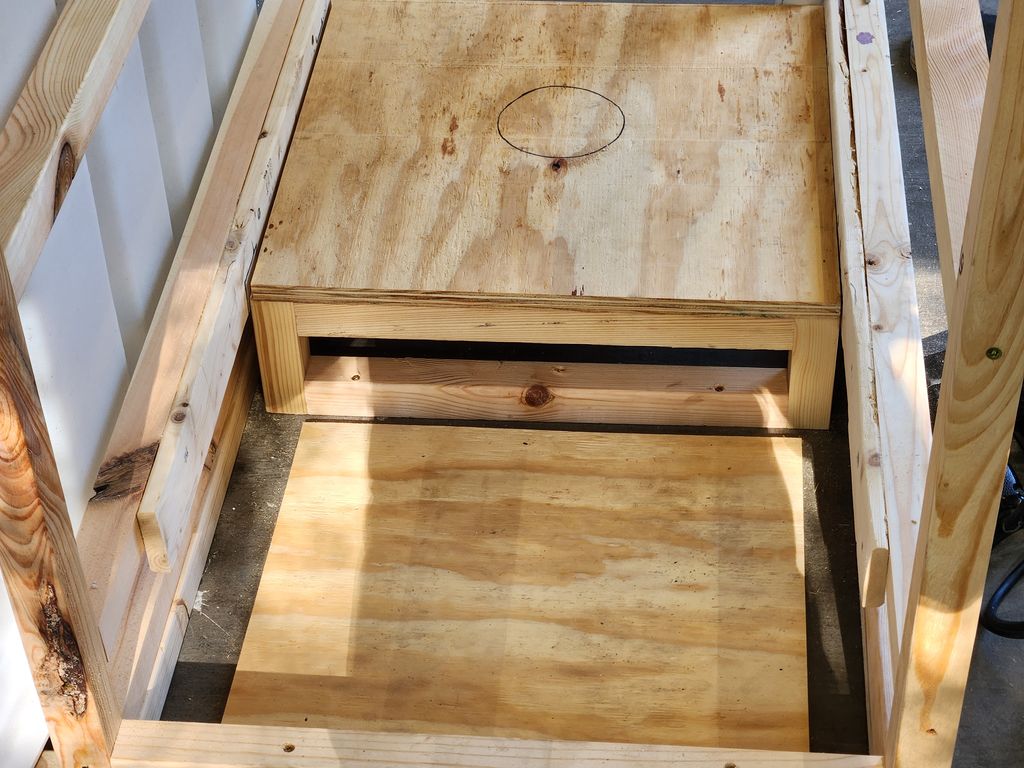
The drain grommet.
A hole saw for the drain grommet.
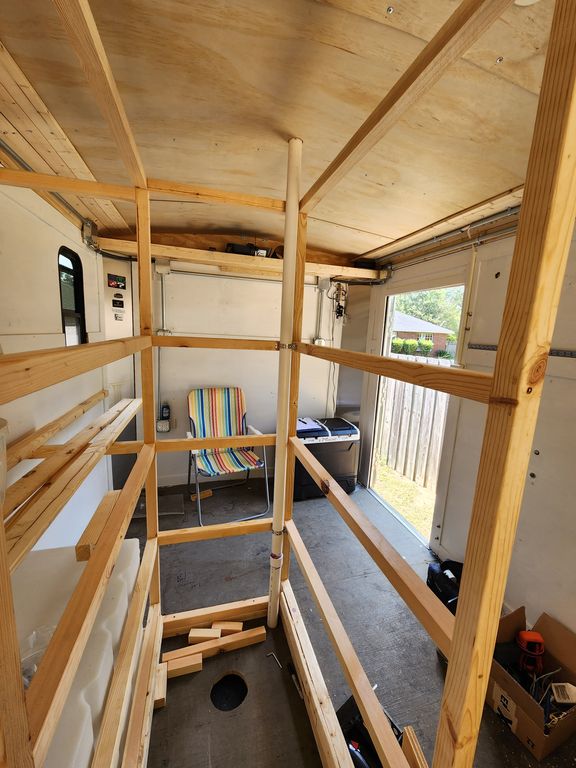
It's only fair to tell you my wife and I each weigh around 150 lbs. We are not large people. And this shower/toilet combination is snug. It's not too snug, but it is in no way spacious. There is adequate room, but none to spare. So in that regard, it meets the criteria of this build.
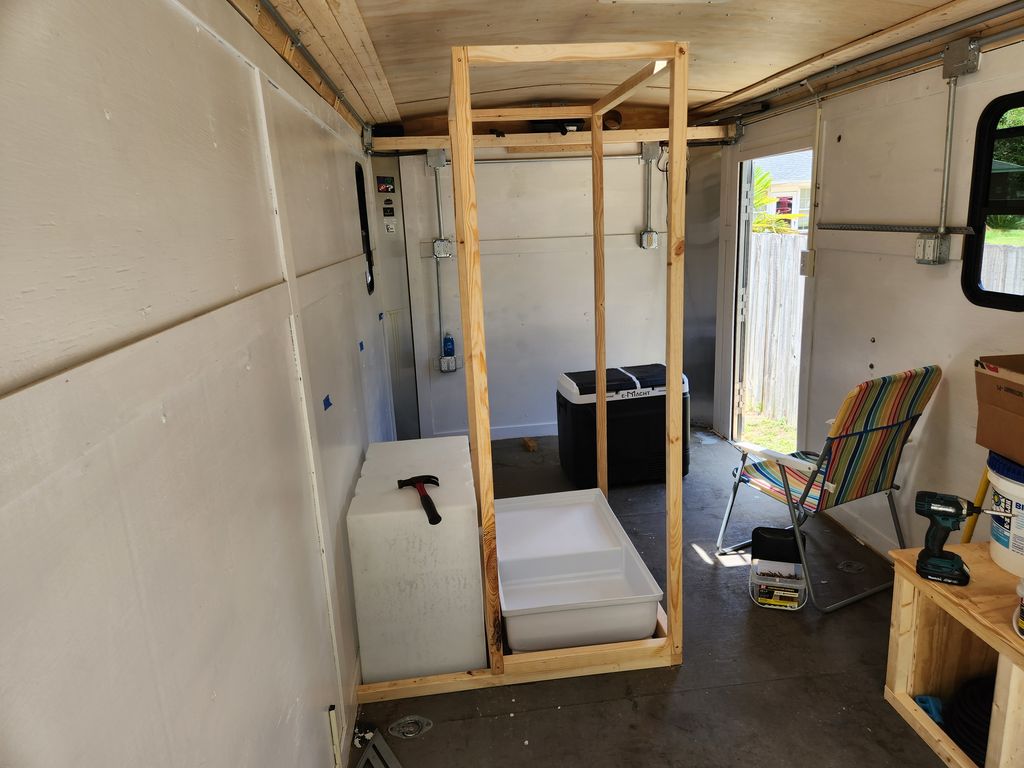
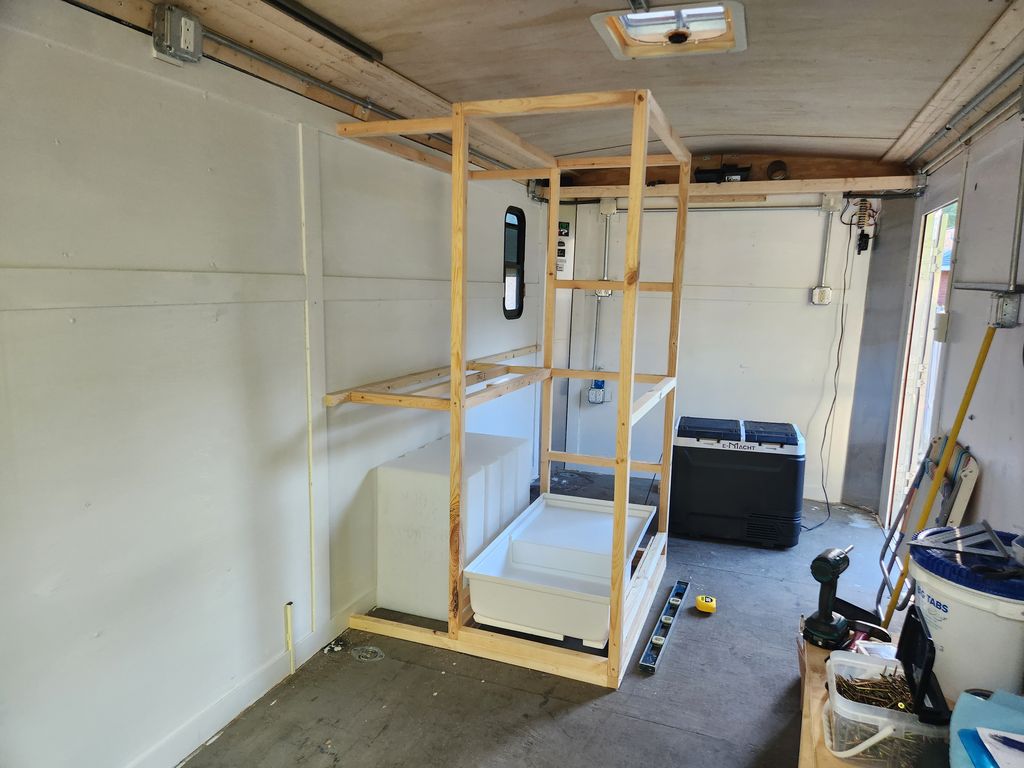
Wood
This seems as good a place as any to mention the types of wood I used in this build. I find something I like, I stick with it. So my list of types of wood is pretty short.
2x4'sThese studs are typically nice and straight. I rip them twice to end up with 1-1/2 inch square framing material.
1x3'sThis is often not real pretty, but you can cull through the stack as you buy them. I used them for shelf slats and edging among other things.
3/4 inch plywoodThis is really 23/32 inch sheathing. Meets my needs.
1/2 inch plywoodAgain, 15/32 inch sheathing. Less expensive but does the job.
3/8 inch plywoodAnd 11/32 inch sheathing.
1/8 inch plywoodUsed on the ceiling, also bath walls as underlayment.
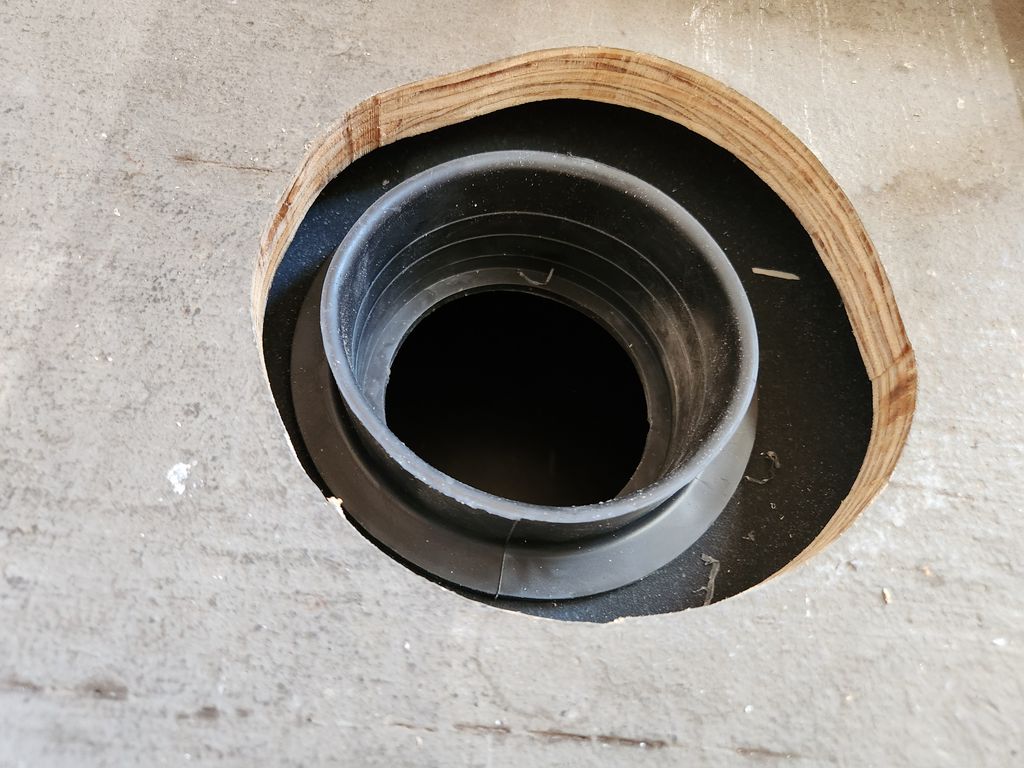
Grommets
I discovered a ton of mis-information related to the rubber grommets that seal the vent and drain to the black water tank. When you read and/or watch videos from professional installers you learn the grommets are designed to seal without use of a sealer compound. YouTubers generally apply copious amounts of silicone "because I don't want this thing leaking!" The silicone is totally not needed if you have a round hole of the correct size. When the pipe slides into the grommet, it expands the sides of the grommet and presses it against the edges of the hole to form a seal.
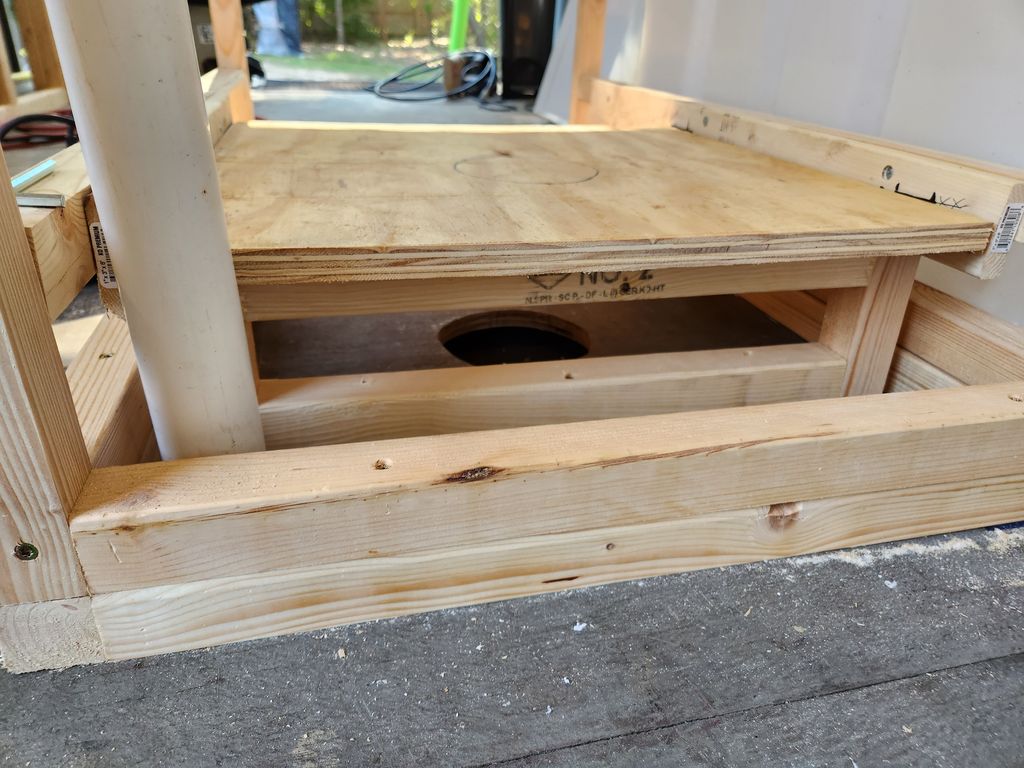
Drop
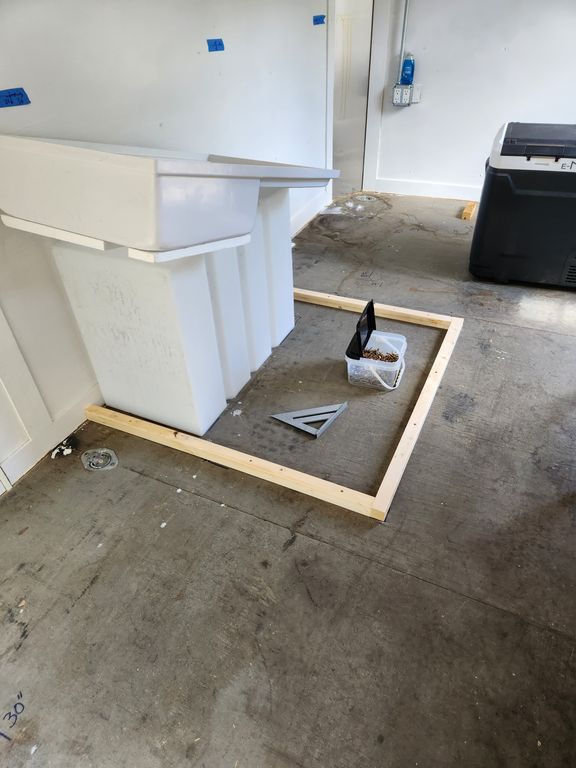
The other major consideration is ensuring there is a bit of a tilt in the pan toward the shower drain. Even though I went to great lengths to do that, I still wind up with some standing water around the toilet after a shower. It's not hard to clean up, but maybe a bit more tilt would have prevented it. I don't know at this point, and I'm not going to find out either.
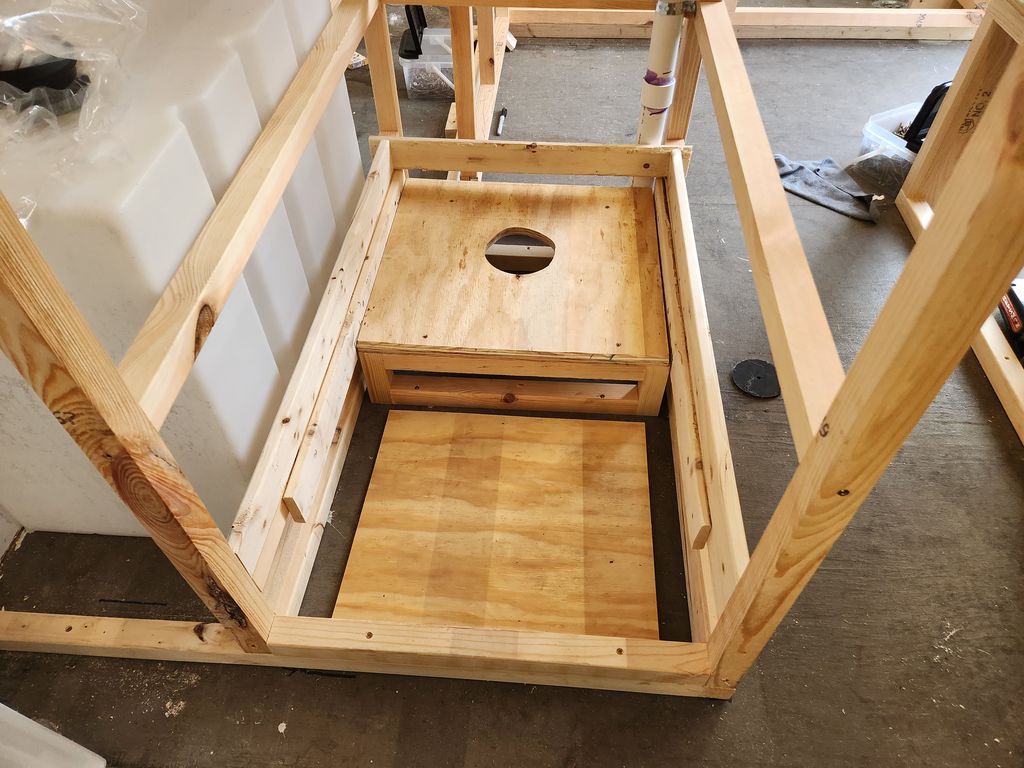
I suspected this could happen, and so when I installed the toilet flange, I made sure to apply copious amounts of silicone, because I didn't want that thing leaking!. See what I did there? But seriously, I wanted to contain any such shower residue in the shower, and prevent it from seeping to the plywood base below. I think I was successful.
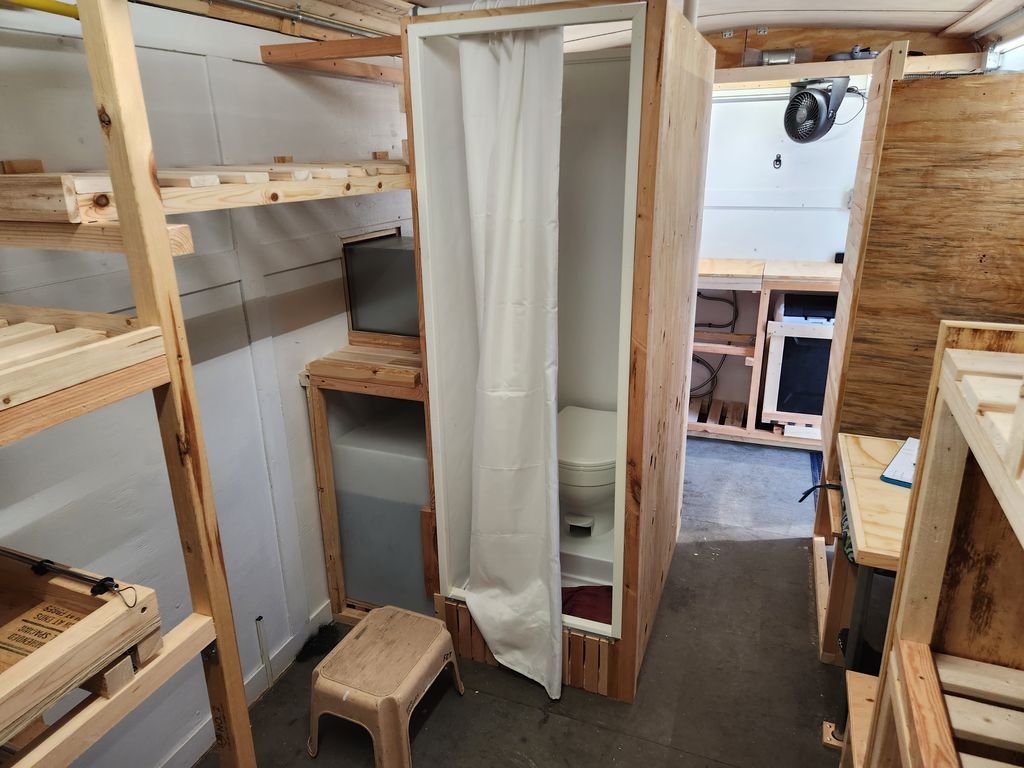
The toilet/shower combination seems to be working flawlessly.
The kitchen sink gets a normal P-trap, but the shower needed something more low profile. I bought this waterless sanitary waste valve. It seems to be working great. No issues at all, and I've tried to create some in order to test it.
I have utilized it for both functions and can say it is a thing that works!.
Here is the Potty Gallery