Run Home to Mama: The Bug Pages
Three Shades of Water
There are three tanks every RV needs:
- Fresh water: holds water for washing and maybe drinking.
- Gray water: holds kitchen and shower drain water.
- Black water: holds the really nasty smelly biohazard stuff.
I purchased all three of my tanks off Amazon. It turned out fine. In retrospect, however, I would try to make my gray tank larger than my black tank. Having never owned or rented an RV, I didn't really realize how much faster the gray tank fills up. Of course it makes sense. And now that I've experienced it, I have to consider my size choice a mistake. Live and learn. At least it wasn't a huge mistake.
Mine are sized:
- Fresh: 42 gallons.
- Gray: 30 gallons. It would have been better if this one was 43 gallons.
- Black: 43 gallons. This one could have been 30 gallons.
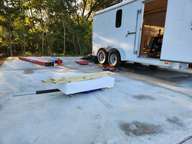
I spent a huge amount of time and effort figuring out where the tanks needed to go.
The placement of the tanks affect the shower/toilet placement. There are vents and connecting plumbing to consider. The floor joists are metal barriers that must be taken into account. In terms of mounting, they are helping me. In terms of getting pipe from one place to another, they get in my way and must be dealt with.
It was not immediately apparent to me that the toilet mounted directly above the black water tank, and dumped directly into it. Once that settled into my brain, it narrowed down the options about where that tank could go. The black water tank needs a fairly direct (short, straight) route for its drain line. And the gate valve at the end of that drain has to be accessible and as protected from road debris as possible. It's a lot of things to keep track of.
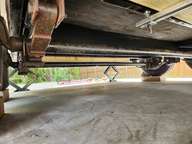
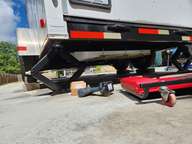
I solved the drain placement problem with two 45-degree 3-inch elbows and a piece of 3-inch straight pipe.
I used a Simpson Strong-tie strap to mount the valve to the frame. That puppy ain't goin' nowhere.
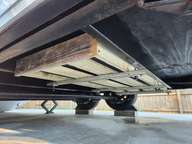
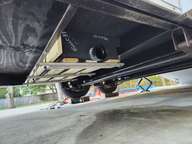
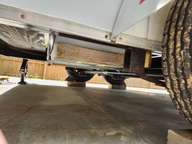
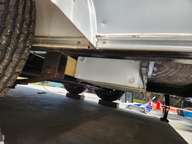
The tanks are plastic, and it seems to me they could be pierced easily by stuff thrown up from a roadway. So I wanted to protect them and give them support. At the same time, I didn't want to enclose them in anything that could hold water. That would be a recipe for deterioration.
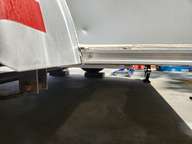
In the end, I decide to build cradles out of pressure-treated lumber and to clamp those assemblies to the underside of the floor using shallow Unistrut and 3/8 inch all-thread.
More after the gallery.
Unistrut is my best friend for so many things. It's perfect for this application.
From top down on each all-thread: I double-nutted (aka: lock nut) the top, then a flat washer, pass through a hole-in-floor-joist-flange, another flat washer and single nut. Then after dropping down through a hole in the strut, I applied a Unistrut square washer followed by a Nylock nut.
So the all-thread is locked to the floor joist and will not rotate as we tighten the Nylock at the bottom. This gives us a lot of control over how much pressure we are using to sandwich the tank and its wooden cradle between the strut and the trailer floor above.
The right amount of pressure holds the tank snuggly against the floor above it, but does not crush the tank. This insures the tanks are not going be moving.
This system will require inspection and adjustment, and I have that as part of my expectations for days ahead.
Now the black and gray water tanks are hung. The fresh water tank lives inside, so that's another story.
We'll have to plumb them next. I'll talk about that when we get to The Bug: Water.

